27 Best Exercises for Lower Cross Syndrome
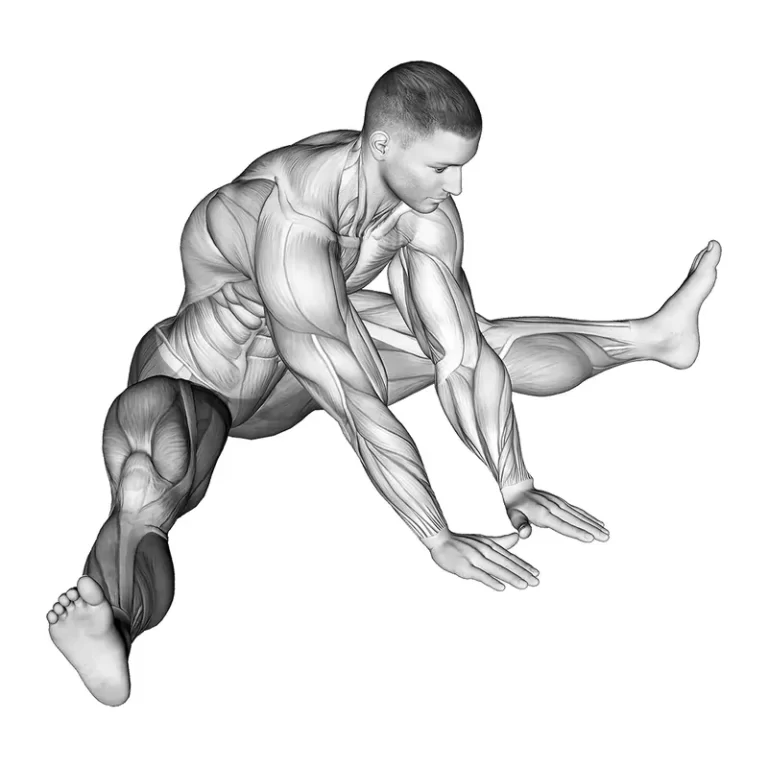
Lower Cross Syndrome (LCS) is a common postural imbalance characterized by tightness in certain muscles and weakness in others, primarily affecting the lower back, hips, and pelvis. Addressing LCS often involves a combination of stretching, strengthening, and corrective exercises to restore muscle balance and alleviate pain. Some effective exercises include hip flexor stretches, glute bridges,…