Glanohumeral Ligament
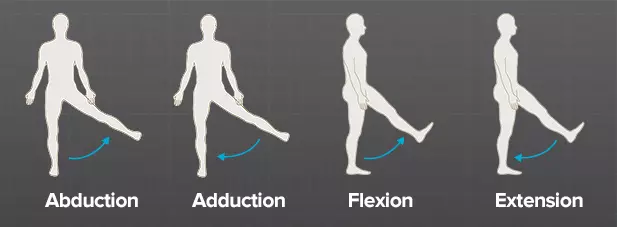
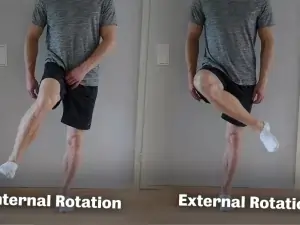
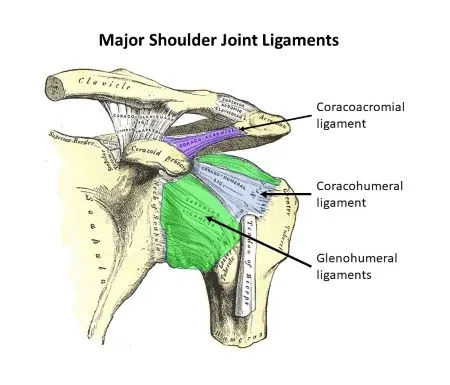
Introduction: The glenohumeral ligaments are a group of three ligaments (superior, middle, and inferior) that reinforce the shoulder joint, connecting the humerus to the glenoid cavity of the scapula. They provide stability by limiting excessive movement and preventing dislocation, particularly during shoulder rotation and abduction. They are also in charge of preventing the humerus bone…