What is a Transcutaneous Electrical Nerve Stimulation (TENS)?
Transcutaneous Electrical Nerve Stimulation (TENS) is a non-invasive therapeutic technique that involves the use of electrical currents to alleviate pain and promote relief from various medical conditions. It is the electric current that produces and stimulates the nerves for therapeutic purposes.
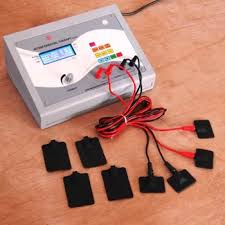
TENS units are compact, battery-operated devices that occasionally fit in a pocket. It uses electrodes on the skin that link to the unit via cables to achieve a specific therapeutic purpose.
The units are considered titratable, allowing for a high level of user tolerance while minimizing adverse effects. Unlike many drugs, the device does not pose a danger of overdosing. TENS devices are frequently extremely customizable, allowing the user to vary pulse width, strength, and frequency.
Muscle contractions are produced by combining a low frequency (<10Hz) with high intensity. High frequencies of more than 50 Hz are employed at modest intensities to create paresthesia without muscular contractions. When utilizing a TENS unit, you will feel a non-painful tingling or buzzing sensation, which can assist in blocking or suppressing pain sensations.
In most cases, two electrode pads are placed on either side of the most painful location. This ensures that the TENS feeling covers the affected area. Four electrode pads can be utilized to treat a wider range of pain. A rotating knob or dial will allow you to alter the intensity (or ‘volume’) of the current flowing through the electrodes.
Some machines feature bigger controls that are simpler to use with restricted hand motions. Adjust the current strength till you get a strong tingling feeling from TENS but not discomfort. You’ll also be able to change the pattern and speed of the current, making the TENS sensation as comfortable as possible. Many TENS devices are computerized, with useful pre-sets to assist you find the ideal settings for your pain.
How does a TENS machine work?
Transcutaneous – through the skin.
Electrical – TENS machines send small electrical pulses to the body through electrodes placed on the skin. TENS devices are considered to change the way pain signals are transmitted to the brain. Nerve-pain impulses reach the brain via nerves and the spinal cord.
Stimulation – If pain signals can be suppressed by the TENS machine’s small electrical shocks, the brain will receive fewer impulses from the cause of pain.
TENS machines are believed to operate in two ways:
The electrical impulses generated by the TENS machine interfere with and block pain sensations transmitted to the brain when the pulse rate is set to 90-130 Hz (the standard setting). This is attributed to the gate control hypothesis of pain. This suggests that there is a gate mechanism in the brain and spinal cord nerves (the central nervous system). When the gate is open, pain messages are transmitted to the brain, and we experience pain.
When the gate is closed, these pain messages are suppressed, therefore we do not sense pain. TENS units are considered to stimulate non-pain-carrying nerves, closing the gate. As a result, the brain is preoccupied with the messages it gets fast from the TENS machine, rather than the delayed (more unpleasant) pain signals the body receives from other sources. It explains why massaging an injured region might momentarily relieve pain.
When the gadget is set to a low pulse rate (2-5 Hz), it causes the body to produce its pain-relieving compounds known as endorphins. These operate similarly to morphine in blocking pain impulses.
Mechanism Action of TENS:
The TENS device stimulates sensory nerves, activating natural pain-relieving processes.
Two basic pain alleviation processes can be triggered.
- Pain Gate Mechanism.
- The endogenous opioid system.
- The different stimulation settings utilized to activate these two systems will be briefly discussed.
The pain gate mechanism:
it relieves pain by activating Aß sensory fibers. This inhibits the transmission of noxious stimuli from the ‘c’ fibers to higher centers.
The Aß fibers tend to prefer being stimulated at a somewhat high-frequency HF (in the range of 90 – 130 Hz or PPS). It is difficult to find evidence for the idea that there is a specific frequency that works best for every patient, but this range appears to encompass the vast majority of people.
It is critical to let the patient determine their appropriate treatment frequency, which will likely differ by person. Setting the machine and informing the patient that this is the ‘correct’ setting is not the most effective treatment, but some pain relief may be obtained.
Endogenous Opioid System:
Stimulating the A delta (Ad) fibers, which preferentially respond to low-frequency LF (in the order of 2 – 5 Hz), activates opioid mechanisms and relieves pain by releasing an endogenous opiate (encephalitic) in the spinal cord. This reduces the activation of noxious sensory pathways.
Similar to the physiology of the pain gate, it is doubtful that the single frequency works for the best; instead, patients expireance with different frequencies.
A third option is to activate both neuron types at the same time using burst mode stimulation:
In this case, higher frequency output is burst at around 2-3 bursts/second.
When the machine is ‘on’, it will emit pulses at a rate of 100 Hz, activating the Aß fibers and the pain gate mechanism, but each burst will cause excitement in the Ad fibers, triggering the opioid processes.
For some patients, this is by far the most effective approach to pain relief; however, as a sensation, many patients find it less acceptable than some other forms of TENS because there is more of a ‘grabbing’ or ‘clawing’ sensation and usually more muscle twitching than with the high or low-frequency modes.
What are TENS used for?
A TENS can help with a variety of chronic (long-term) pains, including:
- Arthritis and other joint pain
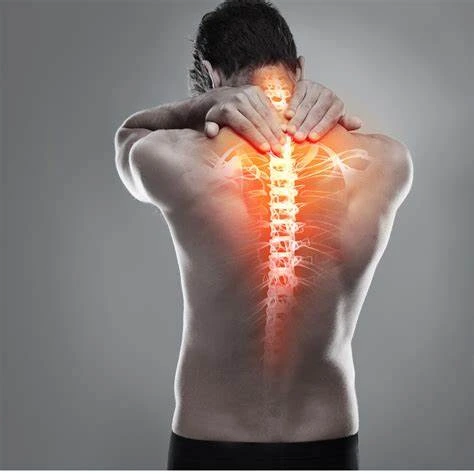
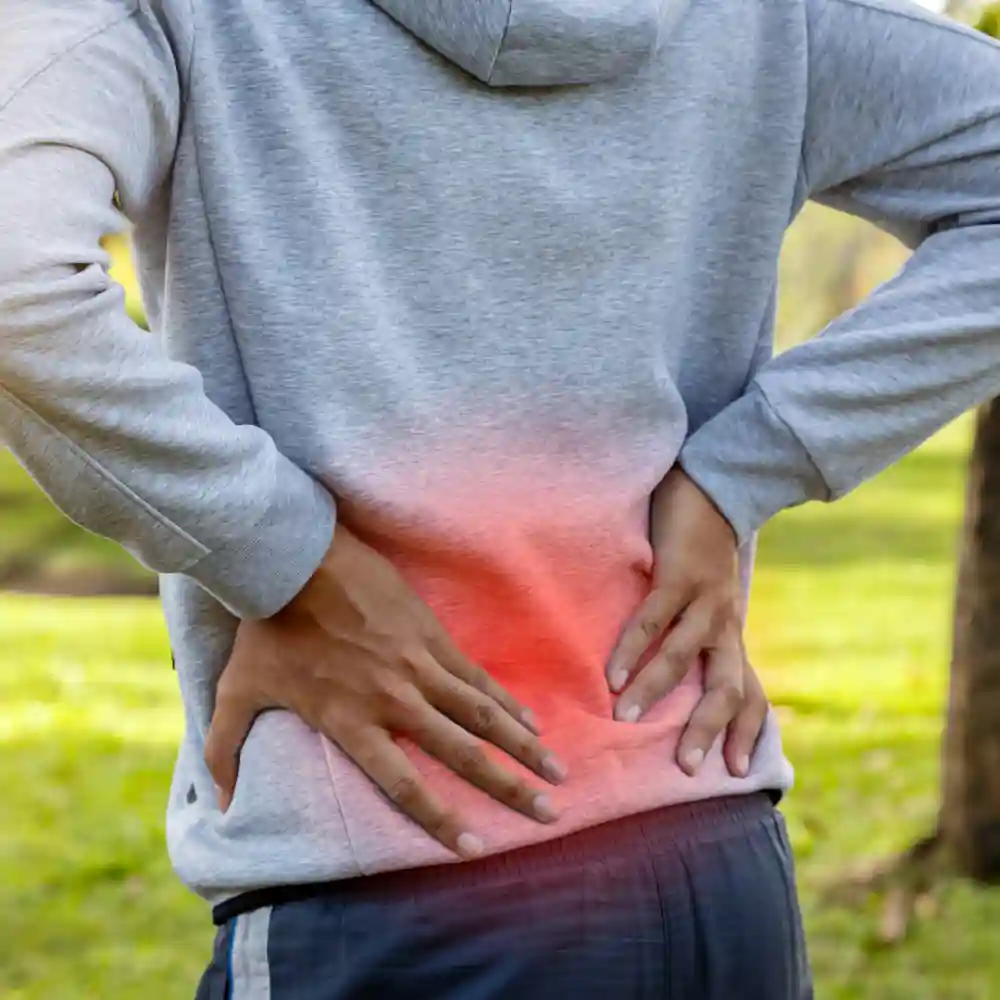
- Back Pain
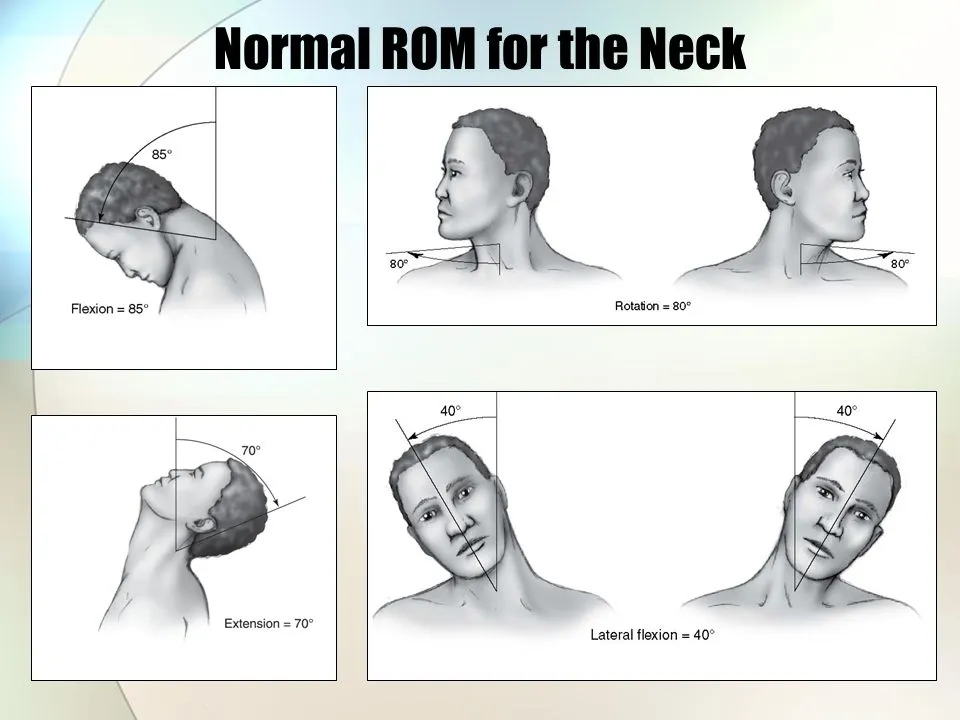
- Neck Pain
- Fibromyalgia
- Muscle ache.
- neuropathic pain
- Endometriosis
- Arthritis, sports injuries.
- Multiple sclerosis is painful. Diabetic neuropathy.
- Spinal Cord Injury
TENS units can assist with the following symptoms:
- Pain during menstruation or labor
- Symptoms of postoperative pain include joint discomfort, neck pain, and back pain.
Types of TENS:
| NO. | Parameter | Conventional TENS (High) | Acupuncture-like TENS (Low ) | Brief Intense TENS |
| 1 | Physiological Intervention | To produce segmentation analgesia, activate a large diameter non-notious afferent. | To induce extra segment analgesia, a small diameter motor afferent must be activated by causing a muscle twitch. | To produce segmentation analgesia, activate a large diameter non-noxious afferent. |
| 2 | Clinical Technique | A small diameter noxious afferent is activated to produce extra segment analgesia and peripheral nerve blocking. | Acupuncture or muscle points can be stimulated at high intensity/low frequency to create a firm yet pleasant contraction. | High level of intensity\Higher frequency to generate optimal paresthesia |
| 3 | Duration of stimulation | 30 minutes | No more than 20 minutes | No more than 5 minutes |
| 4 | Pulse frequency | 60-100 Hz | 2-4 Hz | variable |
| 5 | Intensity | Sensory | motor | noxious |
| 6 | Pulse width in microsecond | 60-100 | 150-250 | 300-1000 |
| 7 | Mode | Modulated | modulated burst | modulated |
| 8 | Duration of treatment | as needed | 30 minutes | 15-30 minutes |
| 9 | Onset of relief | <10 minutes | 20-40 minutes | < 15 minutes |
Conventional TENS (High) :
- It causes paresthesia without motor response.
- A-beta filers are induced to SG enkephalin interneurons for 30 minutes to 24 hours.
- Relief – quickest
- The short duration of respite – 45 seconds
- Stop the pain and spasms cycle.
- Pulse rate: high, 75-100 Hz [continuous -80].
- Pulse width = narrow, less than 300 msec [60 msec typically].
- Intensity = Comfortable
Acupuncture-like TENS (low):
- The descending pain suppression pathway is activated, resulting in endorphin release.
- Longer-lasting pain relief, but longer to begin.
- Frequency = 1–5 Hz.
- Pulse width: 200-300 micro
Brief powerful TENS (hyper-stimulation analgesia):
- it is similar to high-frequency TENS.
- The highest rate is 100 Hz.
- Pulse width = 200 microseconds.
- Intensity = A very powerful yet manageable level.
- The treatment duration is 15 minutes.
- Current can be either monophasic or biphasic.
- Sensation equals bee sting.
- Used for: motor, trigger, or acupuncture point.
- Frequency = A certain rate in the duty cycle.
Burst TENS:
- it involves varying pulses.
- Frequency = 1 to 5 bursts per second.
- Contraction is powerful.
- Combines the effectiveness of low TENS with the comfort of regular TENS.
- Pulse width = high (100-200 microseconds).
- Pulse rate = 70-100 PPS modulated at 1-5 bursts per second.
- Intensity equals strong but pleasant.
- Treatment duration is 20-60 minutes.
Modulated stimulation:
- it keeps tissues reactive and prevents accommodation.
- The amplitude, pulse width, and frequency are all modulated simultaneously.
- If the amplitude is reduced, increase the pulse width to provide more constant energy for each pulse.
Parameters of TENS Therapy:
| 100 or 200 microseconds 50 to 300 microseconds | PARAMETER | VALUE |
| 1 | Pulse shape | Rectangular |
| 2 | Pulse width | 100 or 200 microseconds 50 to 300 microseconds |
| 3 | Frequency | Low = 2 Hz High = 600 Hz Commonly used = 150 Hz |
| 4 | Intensity | Varied form 0 to 60 milliamps [ mA] |
| 5 | Varied from 0 to 60 milliamps [ mA] | Monophasic Symmetric biphasic Asymmetric biphasic |
| 6 | Pulse amplitude | 1 – 50 mA |
| 7 | Pulse duration | 50 – 500 second |
| 8 | Pulse pattern | Continuous Burst |
Impedance of Current flow:
The impedance of a route determines how much current flows in tissues.
The impedance comprises both ohmic and inductive resistance.
The inductive resistance is minimal in tissues.
Watery tissue, such as blood, muscle, and neurons, has low ohmic resistance, but bone and fat have higher resistance, with the epidermis having the highest resistance of all.
Application of electrodes in TENS:
Large mains units are available to provide the current, however tiny made-to-be patient pockets and batteries are frequently used.
To achieve good skin contact, conductive rubber electrodes coated with a conductive gel are applied to the patient’s skin.
The electrode can be wrapped to the patient or secured with adhesive tape.
The cables that connect the electrodes to the device can be carefully disguised with clothes.
Electrodes shape used in TENS therapy:
- there are many types of electrodes used:
- rectangular
- circle
- square
- small-disc electrode
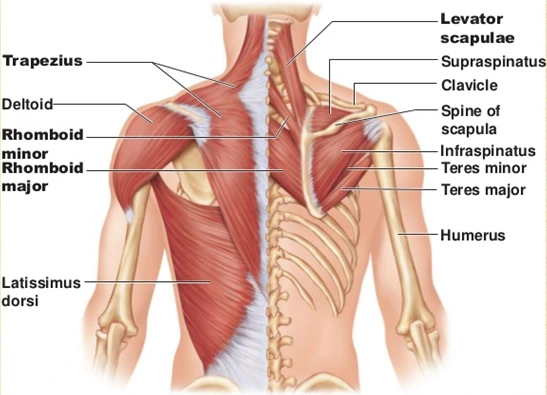
Electrode placement technique:
it is based on the target muscle or muscle group, either individually or in connection to other muscles.
Unilateral: It is implantation that results in inflammation of one limb or half of a muscle pair.
Bilateral: It enables stimulation of both limbs.
Uni-polar: Only one of two necessary leads and electrodes are linked and positioned over the target area.
Quadripolar: Use two sets of electrodes, each emanating from its channel. It might be regarded as the simultaneous application of two bipolar circuits. This approach might be utilized to stimulate both the agonist and the antagonist. Can also be used in a crisscross pattern or for a huge area like the back.
Contraindications of TENS:
Patients who do not understand the physiotherapist’s instructions or are unable to cooperate.
it has been applying electrodes to the abdomen, and pelvis during pregnancy, and the trunk is contraindicated, but a recent review suggests that, while not an ideal (first line) treatment option, applying TENS surrounding the trunk during pregnancy can be done safely, and no negative effects have been reported in the literature. TENS is a safe and efficient pain management method during labor.
Patients with pacemakers should not be treated with TENS regularly, but it can be safely used under carefully regulated settings. patients with dermatological lesions like dermatitis. anterior aspect of the neck.
Additionally, you should avoid using TENS on or near:
- Infected tissues.
- The skin has been damaged.
- Varicose veins.
- Eyes.
- Mouth.
- Neck (front or side).
- Head.
- Genitals.
- Numbness areas.
- Areas of your body that have recently had radiation treatment.
Precautions of TENS:
If there is an anomalous skin feeling, the electrodes should ideally be positioned elsewhere to guarantee adequate stimulation.
Electrodes should not be put over the eyes. Patients with epilepsy should be treated at the discretion of the therapist in cooperation with the competent medical practitioner. There have been anecdotal reports of poor consequences, most particularly (but not entirely) connected with treatments to the neck and upper thoracic regions.
Avoid active epiphyseal areas in youngsters (albeit there is no direct evidence of detrimental effects). The use of abdominal electrodes during labor may interfere with fetal monitoring devices and should thus be avoided.
How to use of TENS machine?
- TENS units function by supplying electrical current through wires and patches.
- Your delivery should include a TENS unit (dual channel).
- Two wires, four connections.
- Four electrode patches.
- Power source or batteries
- Belt clip
During application tens on the patient:
First, the therapist makes sure the tens unit is turned off.
Put in the batteries or charge the item according to the instructions.
Take the patches out of the plastic storage bag. Keep the bag for later storage.
Insert the lead wires into the connection on each patch. Make sure there are no naked metal pins visible. Insert the lead wire plugs on the tens machine
Remove the patches from the plastic lining. Save the liner for future use.
Apply the patches to your clean or dry skin.
Two sets of electrodes must be applied to the body.
To start therapy, ensure that the skin around the painful area is clean and dry. If the patch is not secure, there may be changes in stimulation, resulting in discomfort.
The photographs show the first set as black and the second set as white. You can attempt any of the electrode placements illustrated on these pages.
The patches should not contact with any metal object like a belt.
Turn the device on.
Follow the treatment plan in your After Visit Summary.
Begin therapy and gradually increase the intensity to a level that is both effective and pleasant. This might cause your muscles to contract.
After a few minutes, there may be less stimulation. This is natural while your body adjusts to the TENS. You should increase the strength of the TENS unit to maintain it feeling strong yet pleasant.
To discontinue therapy:
The therapist makes sure the tens unit is turned off.
Carefully remove the lead wires from the patches. Pulling or pulling on the wires may harm the electrodes.
Risks and advantages of transcutaneous electrical stimulation:
- It’s non-invasive.
- It can be used alone or with other pain medications.
- It may cut some people’s drug doses. (Always consult your healthcare practitioner before altering your medicines.)
- TENS units are compact and portable.
- Many people find that this treatment efficiently relieves their discomfort.
What are the negative aspects of TENS therapy?
- Adhesives cause allergic reactions.
- Uncomfortable feelings. (Some folks dislike the prickly, tingling sensation.)
- Electrode burns are rare.
FAQs
What is TENS used for?
Transcutaneous electrical nerve stimulation (TENS) is a method that passes an electric current to trigger the nerves to relieve pain. TENS units are compact, battery-operated devices that can occasionally fit in a pocket.
What are the indicators of TENS?
Patients suffering from acute or chronic pain may benefit from the use of TENS [postoperative pain, osteoarthritis, chronic pelvic pain, chronic lower back pain].
What exactly does TENS feel like?
You may experience tingling, tapping, buzzing, or muscular twitching. You may also find that the TENS seems stronger or weaker at different times. As you wear it for extended periods, you may become accustomed to the sensation and increase its intensity.
Does TENS cause any pain?
No, it shouldn’t hurt. Make sure you set it to a powerful yet manageable intensity.
Can TENS affect my body?
No, however, the patches may cause minor skin irritation.
Does it matter where I put the patches?
Yes! Attempt to encircle the hurting region. Place them on soft parts of the body, not on bony locations.
Do I need to apply all four patches?
No. However, if the region is large enough to accommodate all four patches, you will receive more stimulation, perhaps leading to better pain alleviation.
References
- Transcutaneous Electrical Nerve Stimulation (TENS). Cleveland Clinic. https://my.clevelandclinic.org/health/treatments/15840-transcutaneous-electrical-nerve-stimulation-tens
- Transcutaneous Electrical Nerve Stimulation (TENS). (n.d.). Physiopedia. https://www.physio-pedia.com/Transcutaneous_Electrical_Nerve_Stimulation_(TENS)
- What is a TENS unit and does it work? (2024, January 19). https://www.medicalnewstoday.com/articles/323632
- TENS (Transcutaneous electrical nerve stimulation). (n.d.). Healthdirect. https://www.healthdirect.gov.au/tens
- Electronic pain relief (TENS). (n.d.). Versus Arthritis. https://versusarthritis.org/about-arthritis/treatments/electronic-pain-relief/
- Frcgp, H. W. (2023, March 20). TENS Machines. https://patient.info/treatment-medication/painkillers/tens-machines
- Transcutaneous Electrical Nerve Stimulation. StatPearls – NCBI Bookshelf. https://www.ncbi.nlm.nih.gov/books/NBK537188/