What is a Posterior Interosseous Nerve Syndrome?
Posterior interosseous nerve syndrome, also known as PIN syndrome, is a neurological condition characterized by compression or injury to the posterior interosseous nerve (a branch of the radial nerve) as it travels through the forearm. This compression can lead to various symptoms including weakness or paralysis of the muscles in the forearm and hand, as well as pain and limited mobility.
Multiple upper extremity compression neuropathies exist. While carpal tunnel syndrome is a frequent neuropathy, posterior interosseous nerve (PIN) condition is not.
Acquiring an understanding of the structure and operation of every nerve is crucial for accurately identifying the affected nerve and compression site. The radial nerve, which emerges from the posterior chord of the brachial plexus, branches off to become the posterior interosseous nerve.
The posterior forearm receives motor innervation from the posterior interosseous nerve. To innervate the dorsal wrist capsule, the terminal branch of the posterior interosseous nerve extends distally into the fourth dorsal compartment of the wrist.
Wartenberg syndrome, posterior interosseous nerve syndrome, and radial tunnel syndrome are examples of compression neuropathies affecting the radial nerve distal to the elbow.
The unique symptoms of each of them can aid in determining the appropriate diagnosis. The extensor compartment of the forearm is innervated by the posterior interosseous nerve, which is subject to compressive neuropathy in posterior interosseous nerve syndrome.
It typically starts slowly and frequently manifests as weakening in the ability to extend the fingers and thumb. However, because the extensor carpi radialis longus is innervated by the radial nerve, wrist extension should be preserved. It usually goes away on its own and can be fixed with cautious methods. Surgical decompression might be necessary, however, if symptoms don’t improve with nonsurgical intervention.
Epidemiology
With an incidence of 3 per 100,000, posterior interosseous nerve syndrome is more common in men, manual laborers, and bodybuilders.
Radial nerve paralysis is 12% likely to occur following a humeral shaft fracture. Palsy of the posterior interosseous nerve can also be caused by proximal forearm fractures.
Causes of Posterior Interosseous Nerve Syndrome
Anatomic injuries, tumors, inflammation, and traumatic injuries are among the possible causes of posterior interosseous nerve syndrome. Dynamic compression of the nerve in the proximal region of the forearm can be produced by repeatedly pronating and supinating.
Compression injuries to the upper extremities, primarily in the arcade of Frohse, are the primary cause of posterior interosseous nerve syndrome, which typically manifests on its own. It is the most frequently compressed location of the nerve since it is where the nerve enters the supinator muscle. But it can also happen after an injury, such as a strike to the forearm’s proximal dorsal area.
Posterior interosseous nerve syndrome is caused by radial nerve impingement. Grasping, wrist supination, pronation, and a small amount of wrist extension are recurrent actions that might compress the posterior interosseous nerve. Lateral epicondylitis may be linked to this diagnosis.
It is possible for posterior interosseous nerve syndrome to develop as a result of radial fracture reduction, ulnar nerve transposition, or extensor origin release in cases of lateral epicondylitis.
It can also occur after surgically reintroducing a torn distal biceps brachii tendon, although this is less common. Both extrinsic compression and intrinsic nerve anomalies are potential causes of posterior interosseous nerve syndrome.
Symptoms of Posterior Interosseous Nerve Syndrome
When posterior interosseous syndrome is diagnosed, a patient may have a history of modest proximal posterior forearm pain without associated weakening. In more serious situations, the patient might exhibit weakness in the extensor muscles of the wrist and fingers.
Wrist extension is typically avoided in part because the extensor carpi radialis longus and, in certain situations, the extensor carpi radialis brevis, get innervation prior to the radial nerve entering the supinator.
Additionally, there may be some wrist radial deviation with extension using the remaining innervated ECRL and ECRB due to the absence of the extensor carpi ulnaris.
The narrowing of the osseoligamentous tunnel is the primary cause of most nerve entrapments. When a posterior interosseous nerve entraps, the musculotendinous radial tunnel becomes compressed. The fibrous arcade of Frohse compresses the nerve in 69.4% of cases.
The symptoms appear fairly slowly at first. The symptoms persisted for an average of two to three years until a conclusive diagnosis could be obtained.
Nerve entrapment disorders typically cause pain, paresthesias, abnormalities in motor and sensory perception, popping sensations, and paresis. Since this nerve exclusively transmits motor fibers, there won’t be any sensory loss.
Motor deficiencies in the posterior interosseous nerve’s distribution are a hallmark of posterior interosseous nerve syndrome.
Although the posterior interosseous nerve includes afferent fibers that carry pain signals from the wrist, there is no cutaneous sensory information carried by the nerve that can help differentiate between cervical radiculopathy and posterior interosseous nerve palsy. A characteristic of the clinical appearance of posterior interosseous nerve syndrome is the loss of function caused by varying degrees of ulnar deviation weakness.
Pathophysiology
The degree of nerve compression determines the pathophysiological basis of nerve injury. Three types exist for nerve injury: neuropraxia, axonotmesis, and neurotmesis. The mildest type, known as neuropraxia, is characterized by demyelination at the damaged site. Conduction velocities may be slowed as a result of this injury, which is typically caused by compression or traction.
Muscle weakness may result, depending on the severity, but the injured site should show a negative Tinel sign. With recovery times ranging from a few days to up to 12 weeks, the prognosis is favorable.
Axonotmesis is characterized by axon destruction and demyelination, which leads to a positive Tinel sign at the site of injury and muscular weakness. The final and most severe type of nerve injury is called neurotmesis, in which there is no nerve conduction due to the complete transect of the nerve. Recovery requires surgical correction.
Differential Diagnosis
Posterior interosseous syndrome is one of the conditions that can lead to lateral elbow pain. Early on, dorsal forearm ache and pain with resisted wrist extension may be comparable symptoms for both diagnoses. A patient with posterior interosseous syndrome may exhibit mild weakness in the thumb and finger extensions.
Since lidocaine injections should temporarily reduce pain greatly in lateral epicondylitis cases, they may be helpful in diagnosing the condition. The radial nerve may be compressed or injured as it winds to the anterior side of the lateral epicondyle from epicondylar fractures, or when it passes through the radial groove on the posterior side of the humerus from humeral shaft fractures.
The following conditions are linked to lateral elbow pain:
- Pigmented villonodular synovitis
- Lateral epicondylitis
- Radial nerve Palsy
- Cervical radiculopathy
- Extensor carpi radialis brevis tendinosis
- Cervical spine C5-C7
- Extensor tendon rupture
- Trigger finger
- Sagittal band ruptures
- Metacarpophalangeal joint Pain
- Anconeus muscle tendonitis
- Supinator syndrome
- Brachialis neuritis
- Arthritis/arthrosis of the radiohumeral joint
- Meniscus of the radiohumeral joint
- Olecranon bursitis
- Neuralgic amyotrophy
- Rupture of the intermetacarpal space
- Wartenberg’s disease
Diagnosis of PIN Syndrome
For an accurate diagnosis, a thorough clinical and electrophysiological assessment is crucial.
Examination/Assessment
- Physical examination
- History
- Functional limitations or deficits
- Palpation: An unusual amount of discomfort is expected over the Frohse arcade and ultimately over the lateral epicondyle.
- Neural tension test
Muscle testing (with resistance):
The wrist extensors are paralyzed either completely or partially:
At the metacarpophalangeal joints, the patient is unable to extend the thumb and other fingers on the affected side.
The preservation of the extensor carpi radialis longus and the weakening of the extensor carpi ulnaris allow for wrist extension, usually in a radially deviated orientation.
Pain may arise from resisting the urge to supinate or pronate the forearm or from resisting the want to extend the middle finger.
Since the radial nerve’s more proximal branches innervate the brachioradialis and the extensor carpi radialis longus, they might be avoided.
Special investigations
The diagnosis is made with the help of the ensuing specific investigations. It also helps determine the extent of the muscle denervation and the architecture of the lesion.
- Determine the compression level using electromyography
- Nerve conduction velocity
- MRI Not frequently used:
- To identify a particular compression area
- aid in the planning of surgery
Treatment of Posterior Interosseous Nerve Syndrome
The initial course of treatment for posterior interosseous nerve syndrome involves non-surgical methods such as splinting, NSAIDs, physical therapy, and change of activities. Those who have not responded to conservative care for at least three months are eligible for surgical treatment.
Physical Therapy Treatment
It is advised to undergo 3-6 months of physical therapy along with routine reevaluations of signs and symptoms. Surgical decompression should be taken into consideration if therapy is not working, there is evidence of denervation, or the paralysis is prolonged.
A multimodal strategy should be used in physical therapy. Considering the patient’s presentation, the following options are possible:
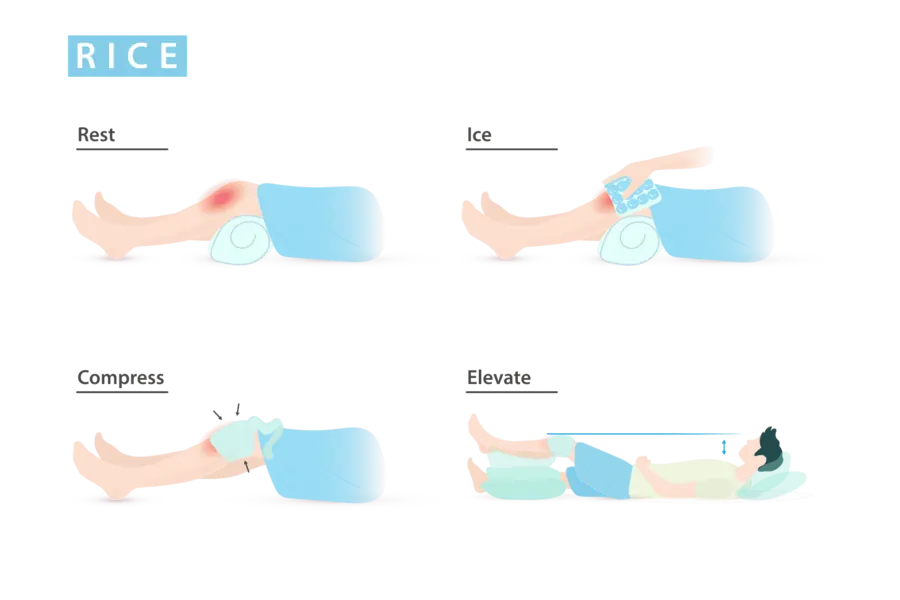
- Cryotherapy
- Ultrasound
- TENS
- Deep tissue massage
- Dry needling
- Neural mobilizations
- Manual therapy: To improve elbow mobility
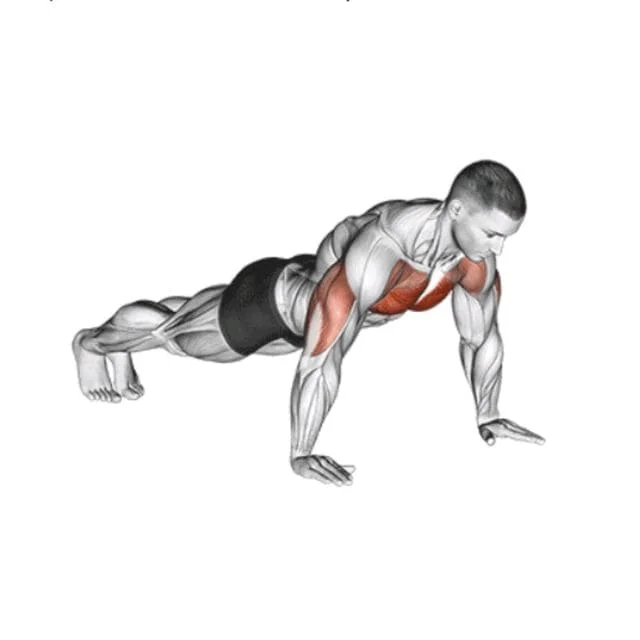
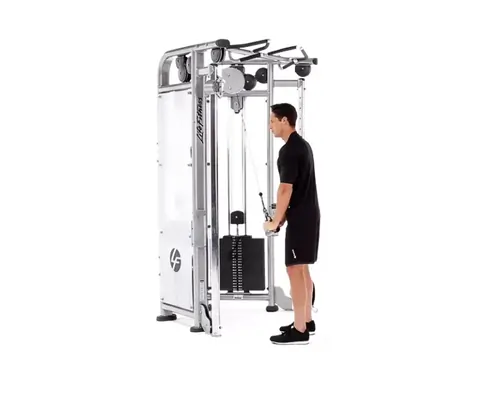
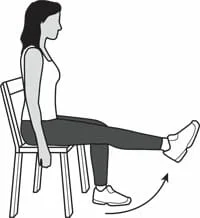
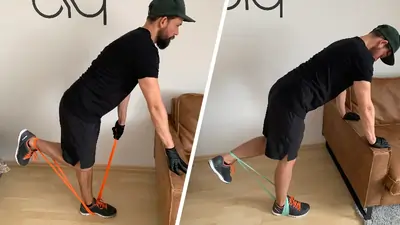
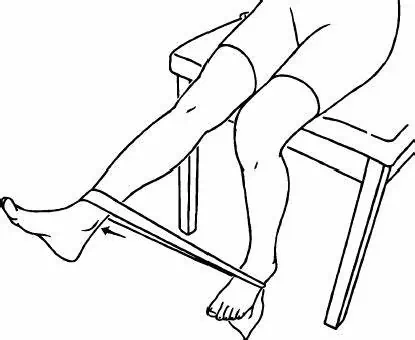
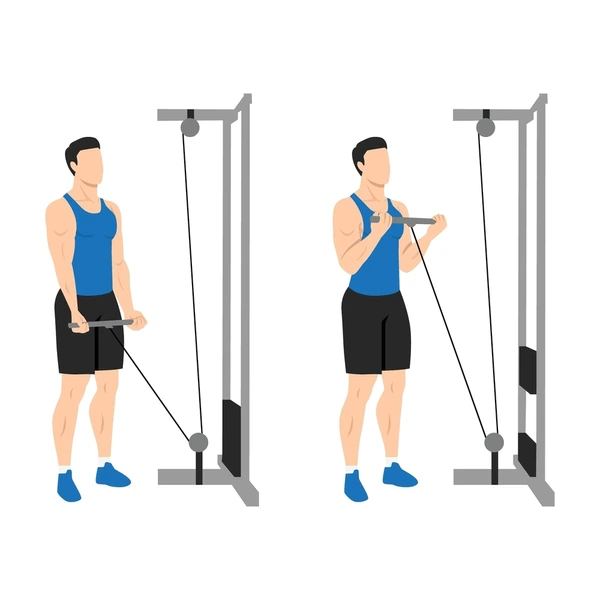
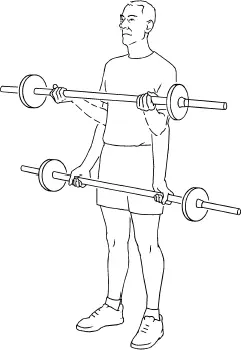
- Strengthening and range of motion exercises
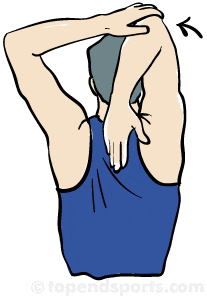
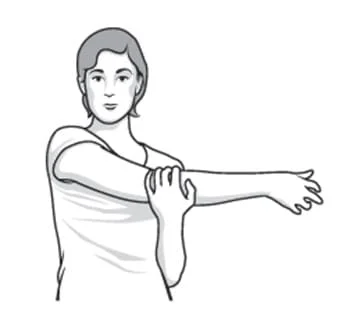
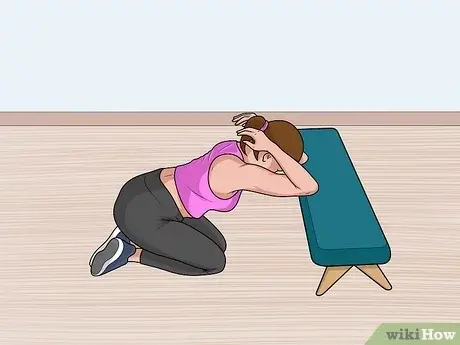
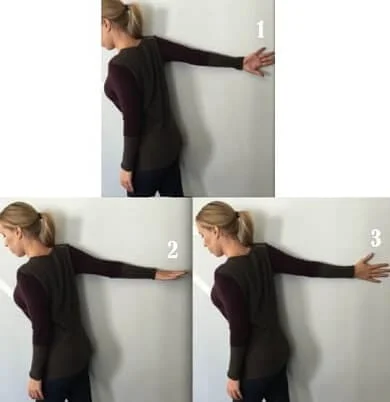
Stretching exercises:
Increase the muscles surrounding the radial nerve and brachial plexus’ extensibility.
Focus on:
- Thoracic outlet
- Pectoralis minor
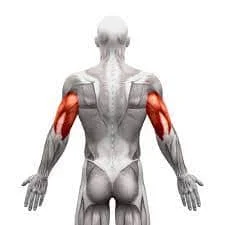
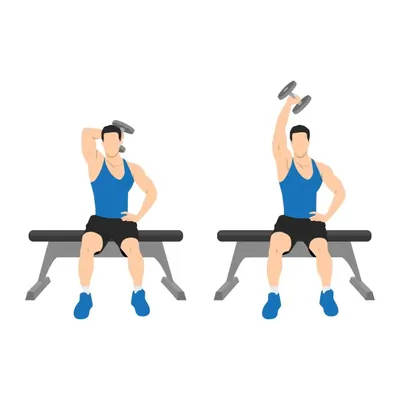
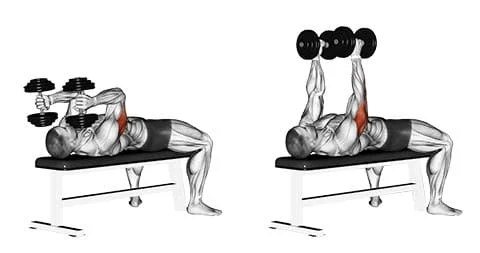
- Triceps
- Brachioradialis
- Supinator
- Extensor carpi radialis longus and brevis
Surgical Treatment
The goal of surgical decompression is to release compressed areas. Release of the fibrous bands superficial to the radiocapitellar joint, the distal edge of the supinator, ligation of the Henry leash (radial recurrent artery), and the fibrous edge of the extensor carpi radialis brevis (ECRB) are among the areas that may be decompressed.
The patient needs to begin an early active range of motion following surgery. Even months after surgery, the patient may continue to experience symptom improvement.
Post-surgical rehabilitation
Begin dynamic range of motion between days 3 and 5.
Add extensor stretching
Start strengthening exercises throughout the weeks.
After surgery, patients can resume light-duty work in weeks two or three, but it may take up to twelve weeks to restore to their baseline functions.
Prognosis
The prognosis is usually favorable when using conservative methods. The patient might keep getting well for months following surgery if they have treatment. Once they reach a maximum range of motion and strength, athletes can resume participating.
Complications
Incomplete decompression, persistence of symptoms, inability to resume preoperative work, and incapacity to do physically demanding jobs are examples of complications.
Improving the Results of Healthcare Teams
Treatment and rehabilitation for posterior interosseous nerve syndrome can benefit from interprofessional communication. To improve patient outcomes, communication between the emergency department physician, physical therapist, orthopedic specialty-trained nurse, and main care physician is essential. Clear expectations should be set regarding the kinds of rehabilitation that would be required.
In many situations, the goal is to stay away from repetitious tasks. Patients who follow their treatment plan should expect favorable outcomes, but regrettably, those who work in vocations that need repetitive motions often experience recurrence The best results and positive patient education will come from an interprofessional team approach.
Conclusion
The deep branch that emerges from the radial nerve is called the posterior interosseous nerve. Inflammation, trauma, and repetitive strain can all result in compression. This condition is referred to as posterior interosseous nerve syndrome, and it can cause paresis or paralysis of the extensor muscles of the thumb and digital digits, making it impossible to extend the thumb and fingers at their metacarpophalangeal joints.
Conservative treatment includes NSAIDs, physical therapy, and splinting; symptoms usually go away in three to six months. When conservative treatment fails, surgery is indicated; the most common surgical procedure is nerve release. A major component of post-operative care is physical therapy, and recovery typically lasts six to twelve weeks.
FAQ
What symptoms are present in the posterior interosseous nerve syndrome?
The extensor muscle weakness and/or paralysis that causes a wrist or finger drop are the presenting signs of posterior interosseous nerve syndrome. Proximal forearm pain, without sensory or motor loss, that frequently coexists with lateral epicondylitis is the presenting complaint for radial tunnel syndrome.
What distinguishes posterior interosseous nerve syndrome from radial tunnel syndrome?
Radial tunnel syndrome does not exhibit any motor dysfunctional symptoms. In contrast, motor weakness is invariably linked to posterior interosseous nerve entrapment. There can be a history of extensor carpi radialis brevis and episodic forearm pain that was followed by progressive digit extensor weakening.
What are the symptoms of pin compression syndrome?
Depending on how severe the compression is, different patients have different PIN compression symptoms. People most frequently complain of Hand and arm weakness and numbness.
How do you treat posterior interosseous nerve syndrome?
Options for managing PIN syndrome include conservative measures and surgical procedures. NSAIDs, physical therapy, corticosteroid injections, and wrist and/or elbow splints may be utilized initially to relieve local inflammation and swelling surrounding the nerve.
What causes posterior interosseous nerve damage?
Anywhere along the nerve’s path can sustain posterior interosseous neuropathy (PIN). Trauma, brachial neuritis, mass lesions, recurrent overuse, and systemic illnesses including rheumatoid arthritis and diabetes can all be causes of nerve damage.
How do you test for posterior interosseous nerve?
The rule of nine tests, which can be used to pinpoint the precise location of the pain, wrist extension, and third finger weakness are useful physical examinations for diagnosis. In addition to the posterior interosseous nerve distribution, MRI examinations may reveal muscular atrophy or edema.