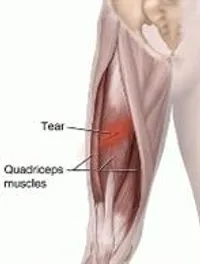
What is a Quadriceps Strain?
A quadriceps strain, commonly referred to as a pulled quad, is an injury that affects the group of four muscles located at the front of the thigh. These muscles, known as the quadriceps, are crucial for various activities such as walking, running, jumping, and climbing. A strain occurs when these muscles are overstretched or torn, typically due to sudden movements, excessive force, or inadequate warm-up before physical activity.
- A strain results from pulling or overstretching your quadriceps muscle. A strain can be caused by an injury, vigorous activity, or lifting large things. When you move your damaged limb, you might experience more pain and soreness.
- Acute muscle stretching, frequently concurrent with strong contractions or repetitive functional overloading, is the usual cause of this injury.
- It is possible to suffer a severe and painful quadriceps injury.
Clinically Relevant Anatomy:
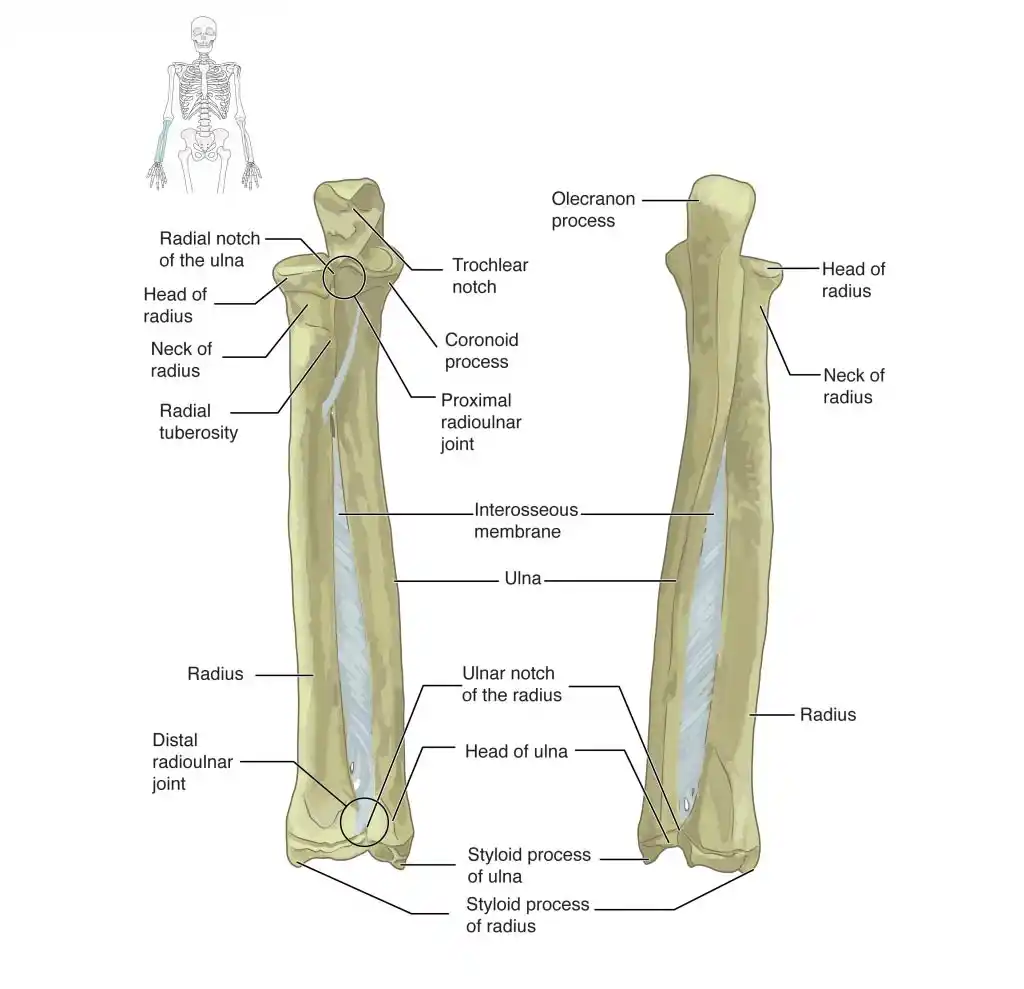
- It is situated in the thigh’s anterior compartment. The Rectus femoris (RF), Vastus lateralis, Vastus medialis, and Vastus intermedius are the four subcomponents that make up this muscle.
Epidemiology of Quadriceps Strain:
- Athletes frequently sustain quadriceps injuries because this muscle is weak to stresses in circumstances requiring quick movements, as in some sports.
- It is highly susceptible to RF due to its intricate musculotendinous architecture, a large proportion of Type II fibers, and two overlapping joints.
- The vastus medius muscle is most frequently injured by contusions, whereas vastus muscle injuries are the least prevalent.
- A rare and crippling diagnosis of quadriceps tendon rupture is more likely in elderly men.
Causes of Quadriceps Strain:
- In sports such as football, and soccer, a rapid, powerful eccentric contraction of the quadriceps often controls knee flexion and hip extension.
- when an eccentric contraction causes the muscle-tendon units to experience severe stresses.
- when an excessively passively stretched or roused muscle is stretched to its highest.
- When a muscle becomes worn out
There are typically three ways that a quadriceps strain is caused:
- Suddenly leg deceleration, such as while kicking,
- forceful quadriceps contraction during running, and
- quick decrease of a muscle that has been overextended (by rapidly changing direction).
Classification of Quadriceps Strains:
- A grading system that takes into account physical exam results, pain, and loss of strength can help provide direction for rehabilitation and therapy, as well as for the ultimate return to play.
- Grade I (mild): Strains only impact some muscle fibers. Active and passive ranges of motion are fully obtainable, and strength has not decreased. Tenderness and pain frequently wait till the next day.
- Grade II (moderate): Strains are indicative of a fully ruptured muscle. In addition to swelling and a slight loss of muscle strength, acute and severe discomfort is also experienced.
- Acute injuries typically produce a significant muscle injury and are the consequence of a single stressful incident. The cause and symptoms are related. They mainly happen in contact sports like basketball, soccer, and because of how high-impact and dynamic they are.
- Overuse: (Persistent or exercise-induced injuries) tend to be more subdued and take longer to manifest. They are the result of recurrent microtrauma to the muscle. The diagnosis is more difficult because the relationship between the injury’s etiology and symptoms is less clear.
Grades of Quadriceps Strain:
- Grade 1 symptoms: Not all grade 1 quadriceps strain symptoms are severe enough to warrant stopping exercise right away. There can be a thigh twinge and a general tightness in the area. The athlete might have some slight discomfort when walking, and running could be challenging. Swelling is not expected to occur. Where the injury is, there can be swelling or spasm.
- Grade 2 symptoms: If the athlete feels sudden, intense pain when they run, leap, or kick, they might not be able to continue. Walking will be difficult due to pain, and you might see some swelling or light bruises. Applying pressure to the area where the quad muscle rupture is thought to be located would cause pain. The injured athlete will not be able to fully bend their knee and will likely experience discomfort when trying to straighten it against the opposition.
- Grade 3 symptoms: A severe, sharp pain in the front of the thigh is one of the main signs. Without crutches, the sufferer won’t be able to walk. 24 hours after the initial severe swelling, severe bruising will become apparent. The effect of a static contraction is painful.
Differential Diagnosis:
- Soft tissue tumors/ bone tumors
- Myositis ossificans
Diagnosis of Quadriceps Strain:
- A thorough medical history and physical examination can be used to identify most muscle ailments.
- Quadriceps muscle strains can present with a variety of clinical histories, ranging from nonspecific aches or thigh enlargement to severe hip and/or thigh discomfort that is painful to move.
- A muscle injury’s degree, nature, and prognosis can all be determined by imaging tests, most especially MRIs and ultrasounds.
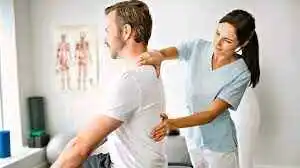
Examination of Quadriceps Strain:
- Palpation, motion assessment, strength testing, and observation should all be part of a comprehensive examination that follows a detailed history.
- Observation: The affected area will be closely examined by the therapist, who will pay special attention to any swelling or bruises. To spot any irregularities in the patient’s posture, they should also watch them while they walk and stand. They could exhibit a glaring abnormality, like a bulge or flaw in the abdominal muscles.
- Palpation: This is necessary to detect any current flaws, lumps, swelling, thickening, or discomfort. Acute compartment syndrome should be considered if the fascial membrane surrounding the compartment is rigid and the discomfort is excessive for the clinical situation.
- It is necessary to provide resistance to both hip flexion and knee extension when assessing quadriceps strength. Examining the patient while seated and while prone-lying is, practically speaking, the simplest method to achieve this. The patient typically experiences pain with passive stretching, resisted muscular activation, and direct examination of the tense muscles.
- Evaluating tenderness: Any detectable weakness or abnormality in strength at the beginning of a muscle injury will help classify the injury and guide additional diagnostic procedures and therapy.
Outcome Measures of Quadriceps Strain:
- Muscle Strength Testing
- ROM.
- Combining percutaneous electrical stimulation with an isometric quadriceps exercise results in voluntary activation. Electrical stimulation does not provide force beyond voluntary contraction when fully contracted muscle.
Treatment of Quadriceps Strain:
- The location and nature of the illness determine how best to treat a quadriceps injury. If the extensor mechanism is lost due to a complete tendon tear, surgery, and quadriceps tendon reattachment are required.
- The recognized protocol for treating muscle strain injuries in the early stages, known as the RICE (rest, ice, compression, and limb elevation) or POLICE principles, can be used conservatively to treat other quadriceps injuries.
Physical Therapy treatment of quadriceps strain:
- Acute Phase: An early period of rest is intended to stop the injury from getting serious, and if the strain is more severe, crutches may need to be used at first. Reducing blood flow is the aim of limb elevation, sporadic application of ice and compression, and increased interstitial fluid formation. Non-steroidal anti-inflammatory medicines (NSAIDs) can be used in addition to ice therapy to help reduce pain during the early phase. The benefits, drawbacks, and costs of using nonsteroidal anti-inflammatory drugs (NSAIDs) are still up for debate. If applied, it needs to be done so between 48 and 72 hours of inflammation.
- Knee Positioning: One must instantly flex the injured leg’s knee to 120 degrees during the first 10 minutes after the damage. By doing this, you can prevent any muscular spasms, lessen bleeding, and lower your chance of getting myositis ossificans. The quadriceps will start to heal in a less stretched position if the knee is kept in an extended posture, which will cause greater discomfort and a longer recovery time.
Active Phase of Management in quadriceps strain:
- An active management period follows the acute phase of therapy when the wounded limb has healed well. Depending on the severity of the initial injury, this phase usually starts three to five days later.
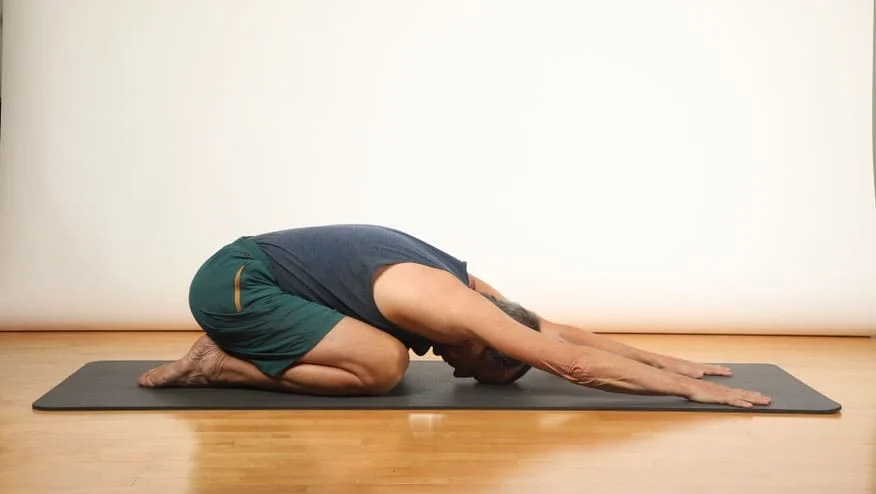
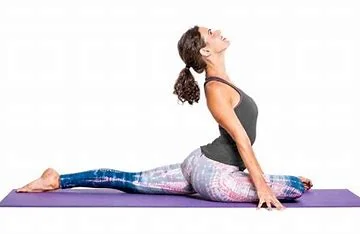
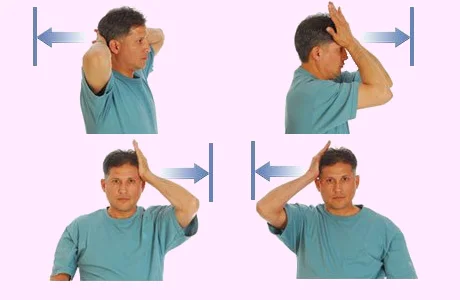
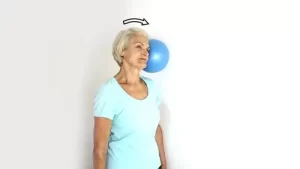
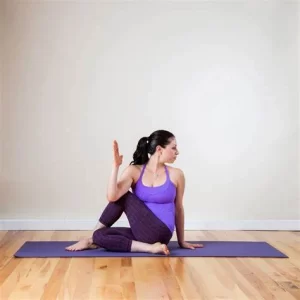
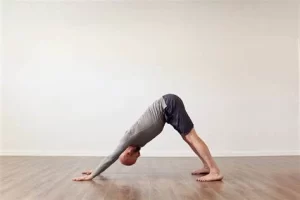
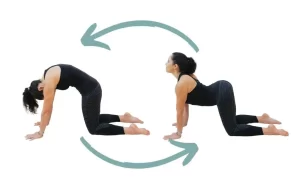
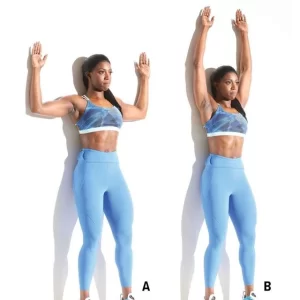
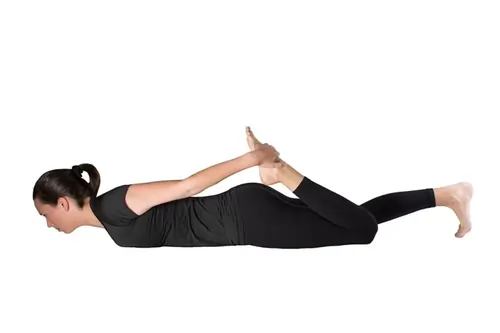
- Static quad stretch: You can perform this exercise while lying on your front or standing. Pull the foot of the affected leg toward the direction of your buttocks when you feel a tiny stretch in the front of your thigh. To increase the stretch, round your hips, and lean back.
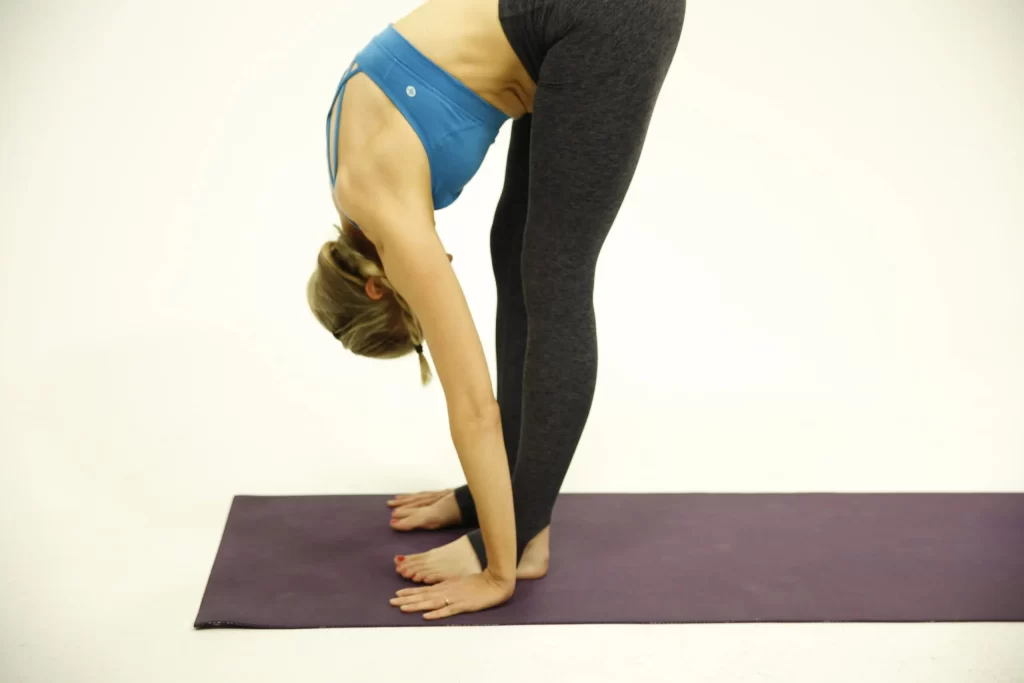
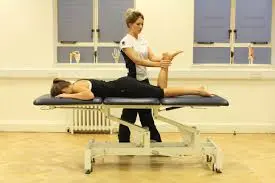
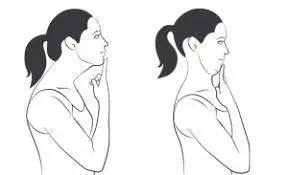
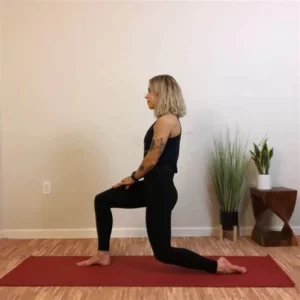
- Hip flexor stretch: The Iliopsoas and rectus femoris muscles will be the main targets of this stretch. dropped to the ground putting one knee on the floor and the other bent with one foot out in front.
Strengthening exercises:
- The goal of Strengthening exercise is to increase the load applied to a muscle gradually. As long as the workouts are low-level and pain-free, you can begin strengthening them as early as day five. It is recommended to begin with isometric or static workouts, go on to dynamic exercises using resistance bands, and conclude with jogging and sprint drills tailored to a particular sport. There is insufficient scientific data to support the generally accepted guidelines for treating muscle injuries.
- Isometrics: After knee flexion gets better, repeat the first set of isometric exercises by contracting your quadriceps in different positions and at 20-degree increments while your knee is fully extended. As soon as the patient is comfortable sitting, isometrics may be stopped.
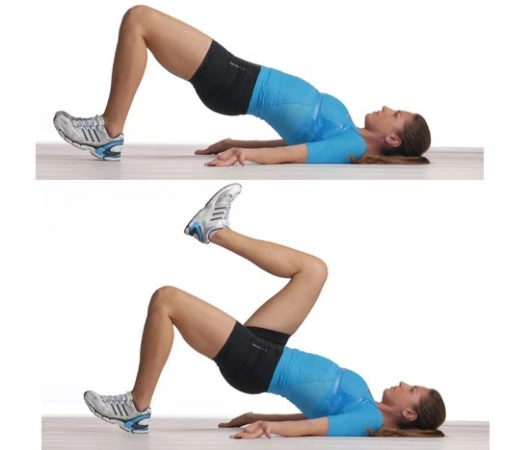
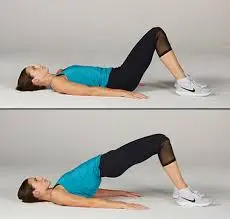
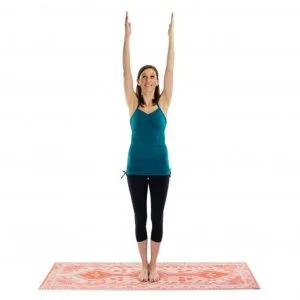
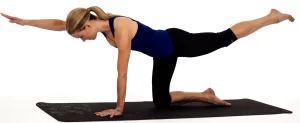
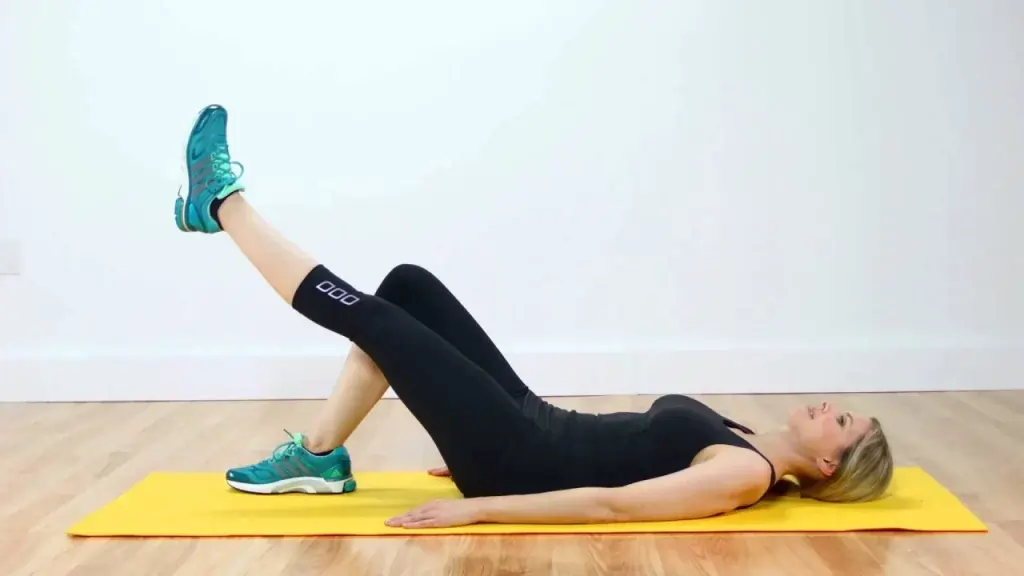
- Straight leg raises: While seated flat on the ground, extend your legs in front of you. Release your hold and land back on the ground after three to five seconds. Ten to twenty times, repeat. You can perform this workout every day. By extending the hold time and rep count, you can advance the workout.
- Isotonics: Free weights are also used once the SLRs and terminal knee extensions are performed accurately. Work up to three sets of ten repetitions per day using the least amount of free weight the patient is capable of lifting. Weight increases should not occur more frequently than every two consecutive workdays and should not exceed two to three pounds at a time.
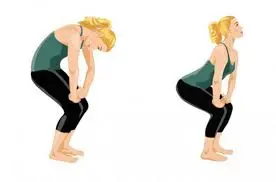
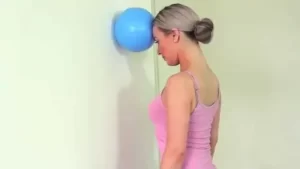
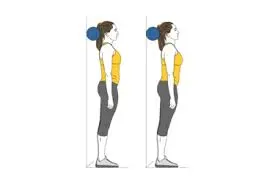
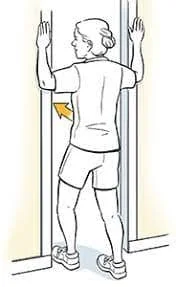
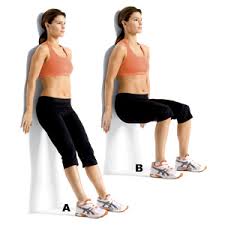
- Wall squats: Lower your body slowly from the beginning posture and keep it there for a while. As you get better, increase the amount of time you can spend in the wall squat. Don’t let the movement hurt. (An alternative way to enhance VMO activation is to crush a ball between your knees while executing the exercise. The ball’s diameter is typically around 12 inches. Perform three sets of holds lasting 15 to 20 seconds once a day.
- Step-ups: Select a box height that will enable you to begin stepping up on it without discomfort. Make sure your knee and second toe remain in place. As you ascend, maintain a level pelvic and aligned knee. Return to the earth gradually.

- Technique of step-ups: Faced toward a step, take a stand. Lift the impacted leg onto the step. Step up onto the step with your other leg, then step back down to where you were before. During this exercise, make sure your knee passes over your toes. During this exercise, your injured leg will remain on the step.
Rehabilitation Protocol of Quadriceps Strain:
Phase 1: Acute Phase week 1-2:
Goals:
- Reduce discomfort and swelling
- Improve ROM and flexibility gradually.
- delayed loss of power and muscle atrophy
- accelerates the recovery from strained muscles
Precautions:
- Avoid overly extending your quadriceps aggressively or passively.
Rehab:
- RICE stands for cryotherapy, elevation, compression wrap, and rest.
- Crutches are first used to help with rest and quadriceps immobilization.
- NSAIDS
- Soft tissue mobs/IASTM
- Conventional TENS
- glutes, hamstring, isometric quadriceps, and ankle pumps
Phase 2: Subacute phase (week 3–12):
Goals:
- Regain your quadriceps’ pain-free strength by working through the entire range of motion.
- Establish neuromuscular control over the trunk and pelvis as you gradually increase the speed and range of motion to get ready for functional motions.
Rehab:
- Cryotherapy
NSAIDS
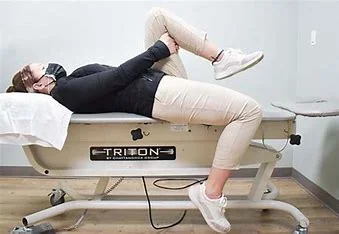
Electrical stimulation
As knee flexion gets better, go back to the original isometric exercises and work your quadriceps in different positions and at 20-degree increments while your knee is fully extended. - Isotonics: three sets of ten repetitions, up to three times a day; start with the least amount of free weight an athlete is capable of lifting.
- Free weights are added to the SLRs and terminal knee extensions if performed correctly and without an extensor leg.
- Weight increases should not occur more frequently than every two working days and should never exceed two to three pounds at a time.
- Isokinetic workouts are tried as an athlete gets closer to his or her maximal weight, which is often between 15 and 20 pounds.
- Conditioning with swimming, walking on a treadmill, and upper body exercises
- riding a bike with a knee range of motion of more than 100 degrees
Phase 3: ( week 12+):
Goals:
Symptom-free throughout every action
maximal speed, range of motion, and normal eccentric and concentric strength
Enhanced trunk and pelvic neuromuscular control
Include postural control in the motions unique to your sport.
Rehab:
- Ice after working out, if necessary
- moderate-to-intense treadmill use as tolerated
- STM/IASTM
- Training using plyometric jumps
- Five to ten-yard jumps or descents
- sport-specific exercises that combine increasing speed and postural control
Eccentric protocol:
- Incorporate eccentric exercises with increased velocity, such as plyometric and sports-specific exercises.
- Examples: comprise the following exercises: plyometric box jumps, split, and single leg deadlifts, bounding and depth jumps, single leg bounding, backward skips, lateral hops, lateral bounding, zigzag hops, bounding, and eccentric backward steps, lunge drops, and forward pulls (good morning Ex)
Prevention of Quadriceps Strain:
- The injury happens in the thigh as a result of severe or ongoing muscle strain.
- Be sure to warm up and cool down before engaging in any physically demanding activities.
- Make sure you’ve consumed a nutritious meal and enough water.
- Avoid exerting weak pressure on the area.
- Participate in the area’s physical conditioning
- Consistent physical therapy can guarantee that the muscles are more resilient and less prone to damage.
Summary:
- Sports like football and soccer can often result in acute strain injuries to the quadriceps. These sports frequently need the quadriceps to contract eccentrically, slightly just forcefully, to regulate hip extension and knee flexion. Strain injuries can result from eccentric contraction, increasing stress across the muscle-tendon units. Strains can also result from activating a muscle already maximally stretched or excessive passive stretching. There are various reasons why strain injuries to this muscle and others are more common. These comprise muscles having a large proportion of Type II fibers, muscles spanning two joints, and muscles with intricate musculotendinous architecture. It has also been demonstrated that acute muscular damage is influenced by muscle exhaustion.
- Therapy is based on 3 principles:
- POLICE or RICE
- Knee mobilisation
- Training of the quadriceps functions
FAQs
How long does quad strain take to heal?
If the strain is significant, healing from a quadriceps strain usually takes several months. Strains are so severe that they require corrective surgery to repair the muscle and then physical therapy to restore muscle function, as in the case of Grade III quadriceps strains. Surgery is not necessary for milder quadriceps strains.
What does a quadricep strain feel like?
A quad strain frequently manifests as thigh pain and edema. Visible inflammation or bruising. Difficulty bending and straightening the knee.
How to heal a quad strain fast?
For healing during the early stages of recovery, the American Academy of Orthopaedic Surgeons (AAOS) advises using the R.I.C.E. principle (rest, ice, compress, elevate). Aspirin, acetaminophen, ibuprofen, and naproxen are examples of anti-inflammatory drugs that may offer much-needed pain relief.
Is a quad strain serious?
Your thigh may be swollen and bruised. You might have difficulty in moving your leg normally if you have a severe strain. With rest and various therapies, a mild strain generally recovers quickly. A significant strain, however, might call for medical attention.
Can I run with a thigh strain?
It should be possible to run and jog, albeit it will be painful. On the other hand, weak, intense pain, bruising, and swelling are caused by most grade 3 and some grade 2 muscle tears. Profound tears make it impossible to run, jog, or walk normally.
Should you massage a pulled muscle?
It’s crucial to remember that you should never massage a strained muscle before giving it a full 72 hours to recover. Waiting at least three days before beginning any massage therapy will help prevent further injury and inflammation caused by massaging a freshly strained muscle.
References:
- Physiotattva. (2023, May 22). Quadriceps Muscle Strain|Diagnosis and Physiotherapy Treatment. https://www.physiotattva.com/blog/quadriceps-muscle-strain-diagnosis-and-physiotherapy-treatment
- Freutel, N. (2023, May 30). Pulled Quad: How to Treat It and Bounce Back Quickly. Healthline. https://www.healthline.com/health/fitness-exercise/pulled-quad-treatment
- Quadriceps Muscle Pain & Strain: Causes, Symptoms, And Treatment. (2024, March 4). AIRROSTI. https://www.airrosti.com/injuries-we-treat/quad-strain/
- Image: Quadriceps muscle strain | ky-sports-academy. (n.d.-b). ky-sports-academy. https://www.kysportsacademy.com/quadricepsmusclestrain