Low-Level Laser Therapy (LLLT)
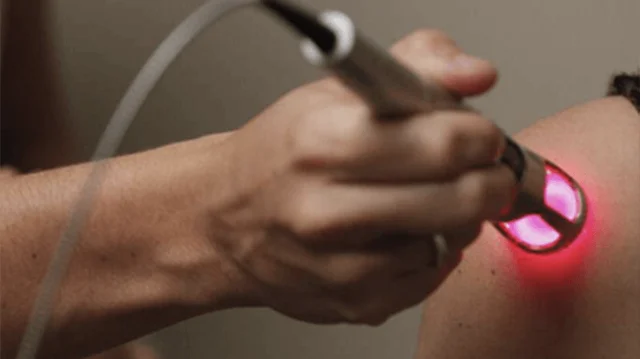
What is a Low-Level Laser Therapy (LLLT)? Low-Level Laser Therapy (LLLT), also known as cold laser therapy or photobiomodulation, is a therapeutic technique that employs low-power lasers or light-emitting diodes (LEDs) to treat various conditions. LLLT’s (low-level laser treatment) objectives are to decrease inflammation and speed healing by applying low-level lasers to the layers of…