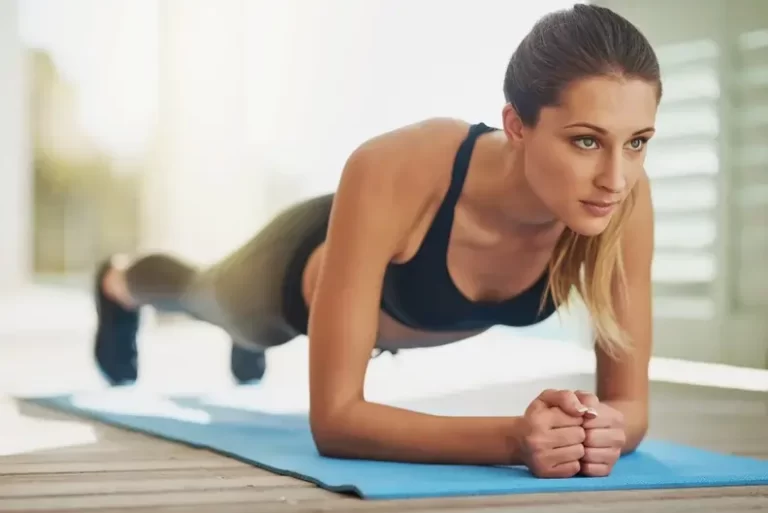
16 Best Exercises for Good Posture
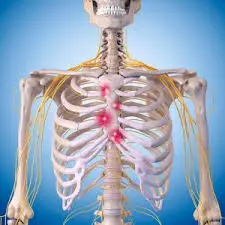
Good posture is essential for maintaining balance, reducing strain on muscles and ligaments, and preventing discomfort. Incorporating exercises that strengthen the core, back, and shoulder muscles can significantly improve posture. Focusing on alignment, flexibility, and stability helps create a strong foundation for standing and sitting with ease and confidence. Introduction: Maintaining good posture is important…